Node #
Summary of the Node #
Nodes are the basic elements of a container cluster. Each node contains the basic components needed to run the Pod,including Kubelet、Kube-proxy and so on.
Viewing Node List #
In addition to the basic node information,the container cloud platform integrates the usage of CPU、memory、and container group of nodes.
Operating steps:
Log in the MSP Platform
In the MSP Platform “All Products” navigation bar,click the node under the Container Cloud Platform module,viewing the node list,as shown in the following figure:
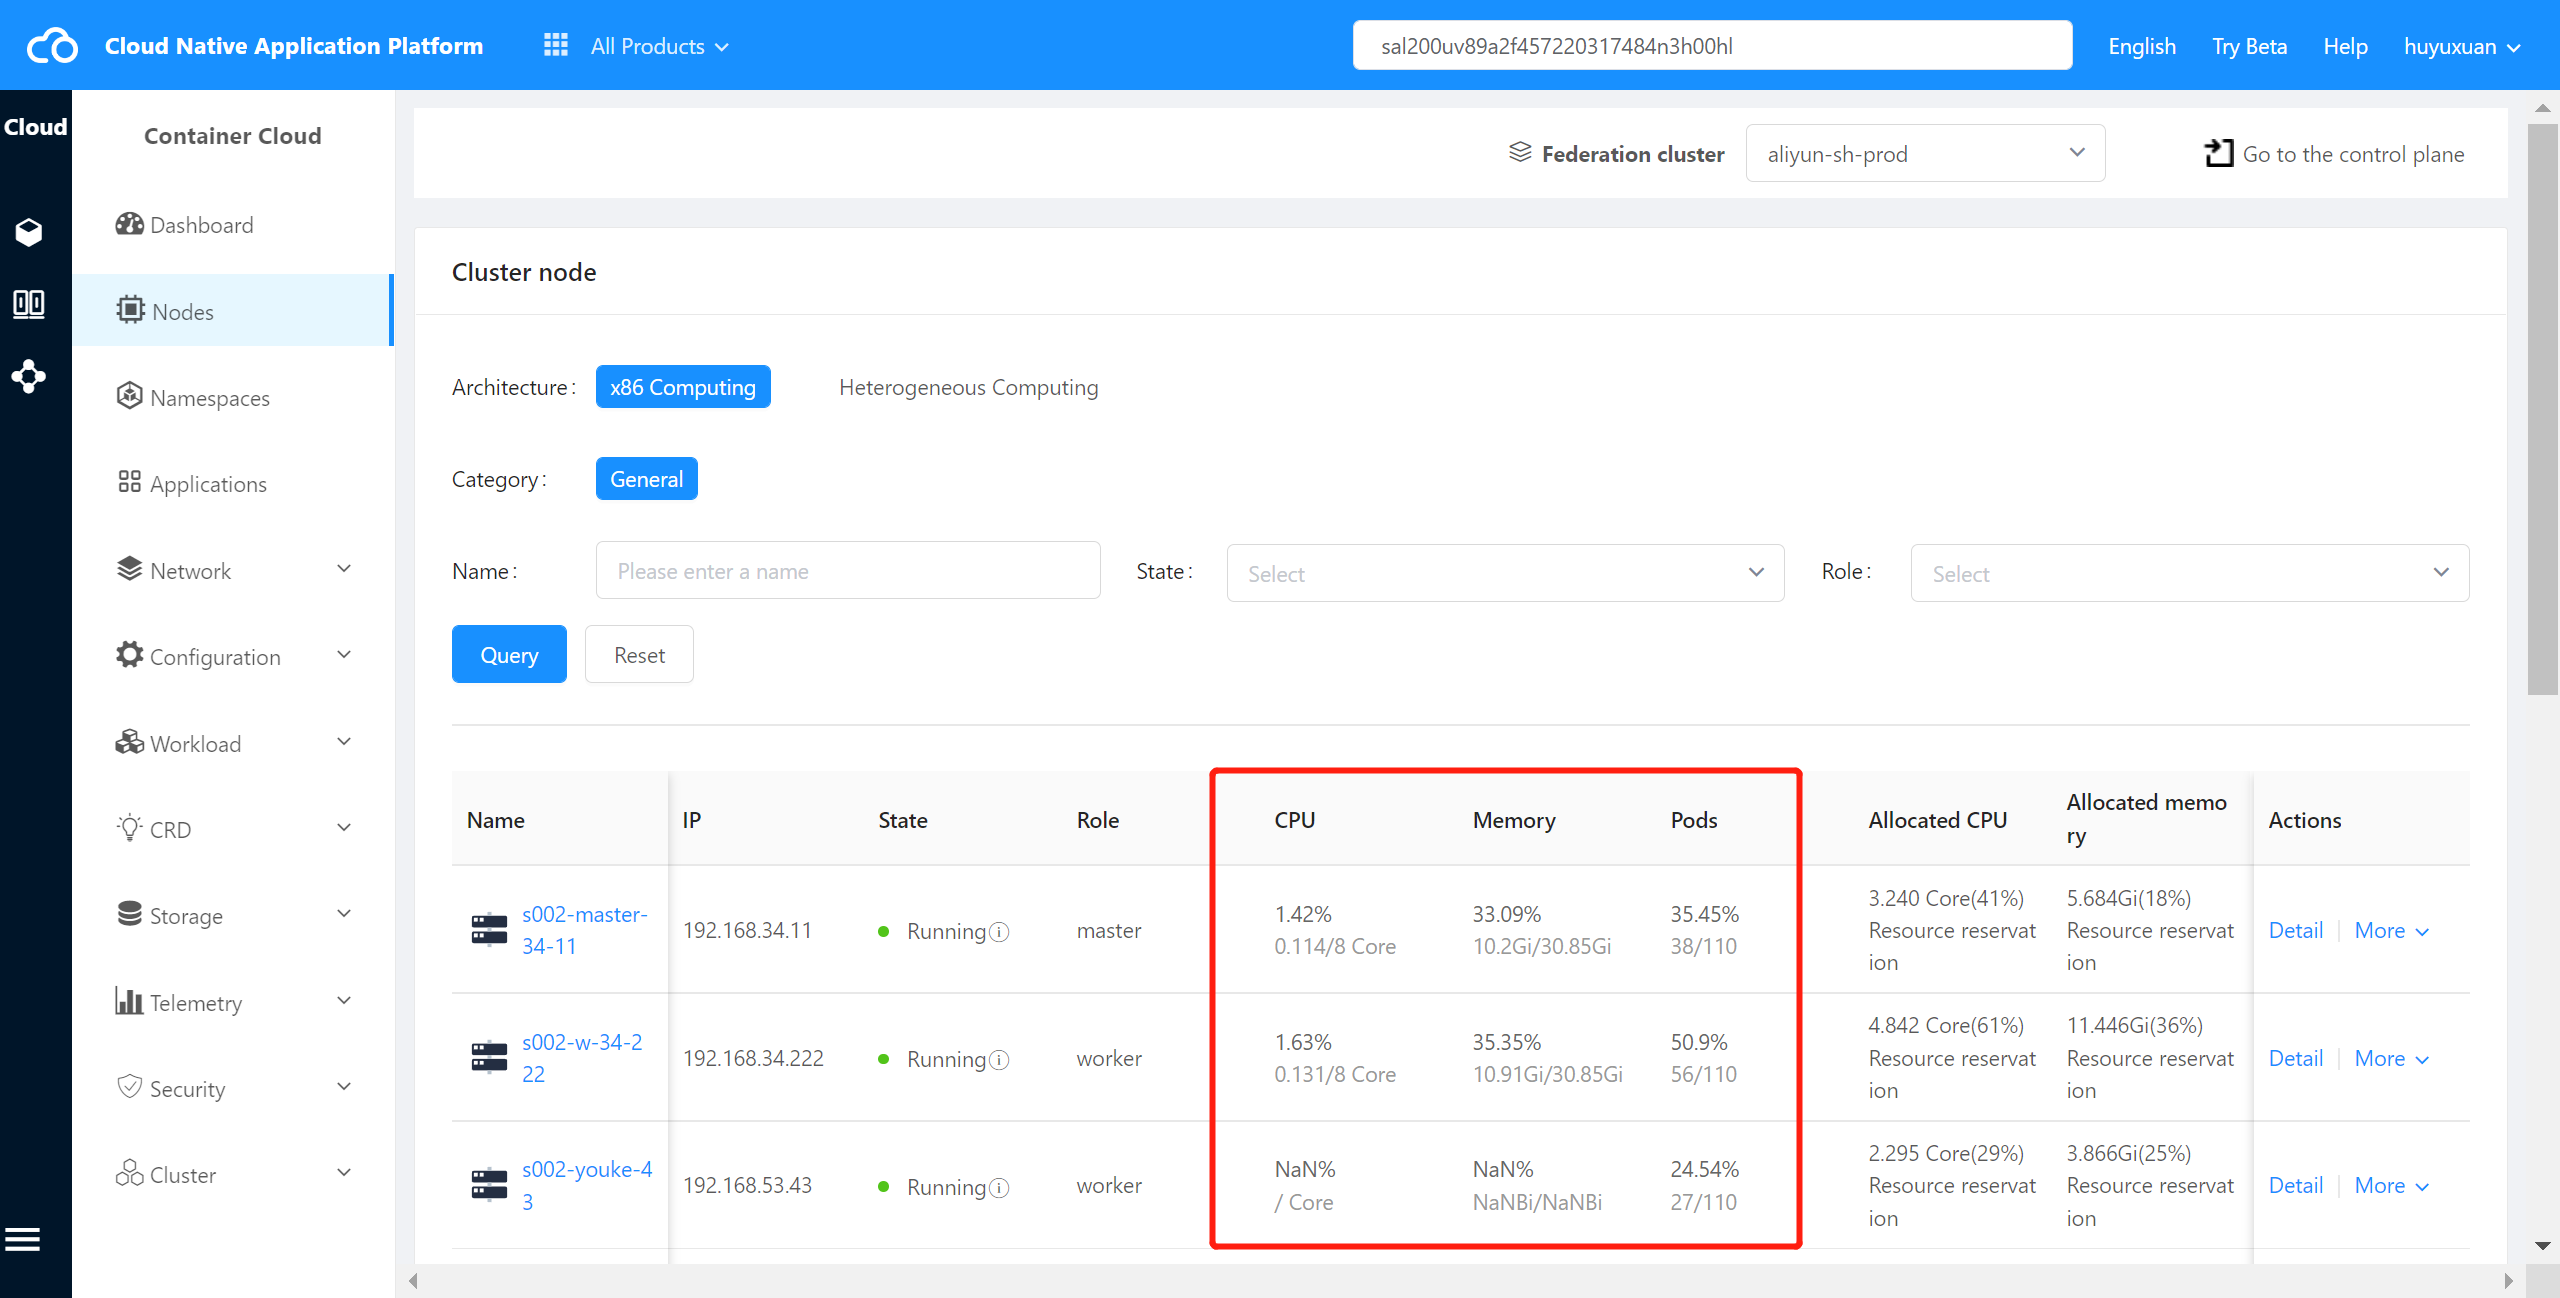
Node Status Description:
Node status: Running(the node is running properly), abnormal(the node is running abnormally and is not connected to the cluster), stopped scheduling(no new POD is allowed to be scheduled to the node)
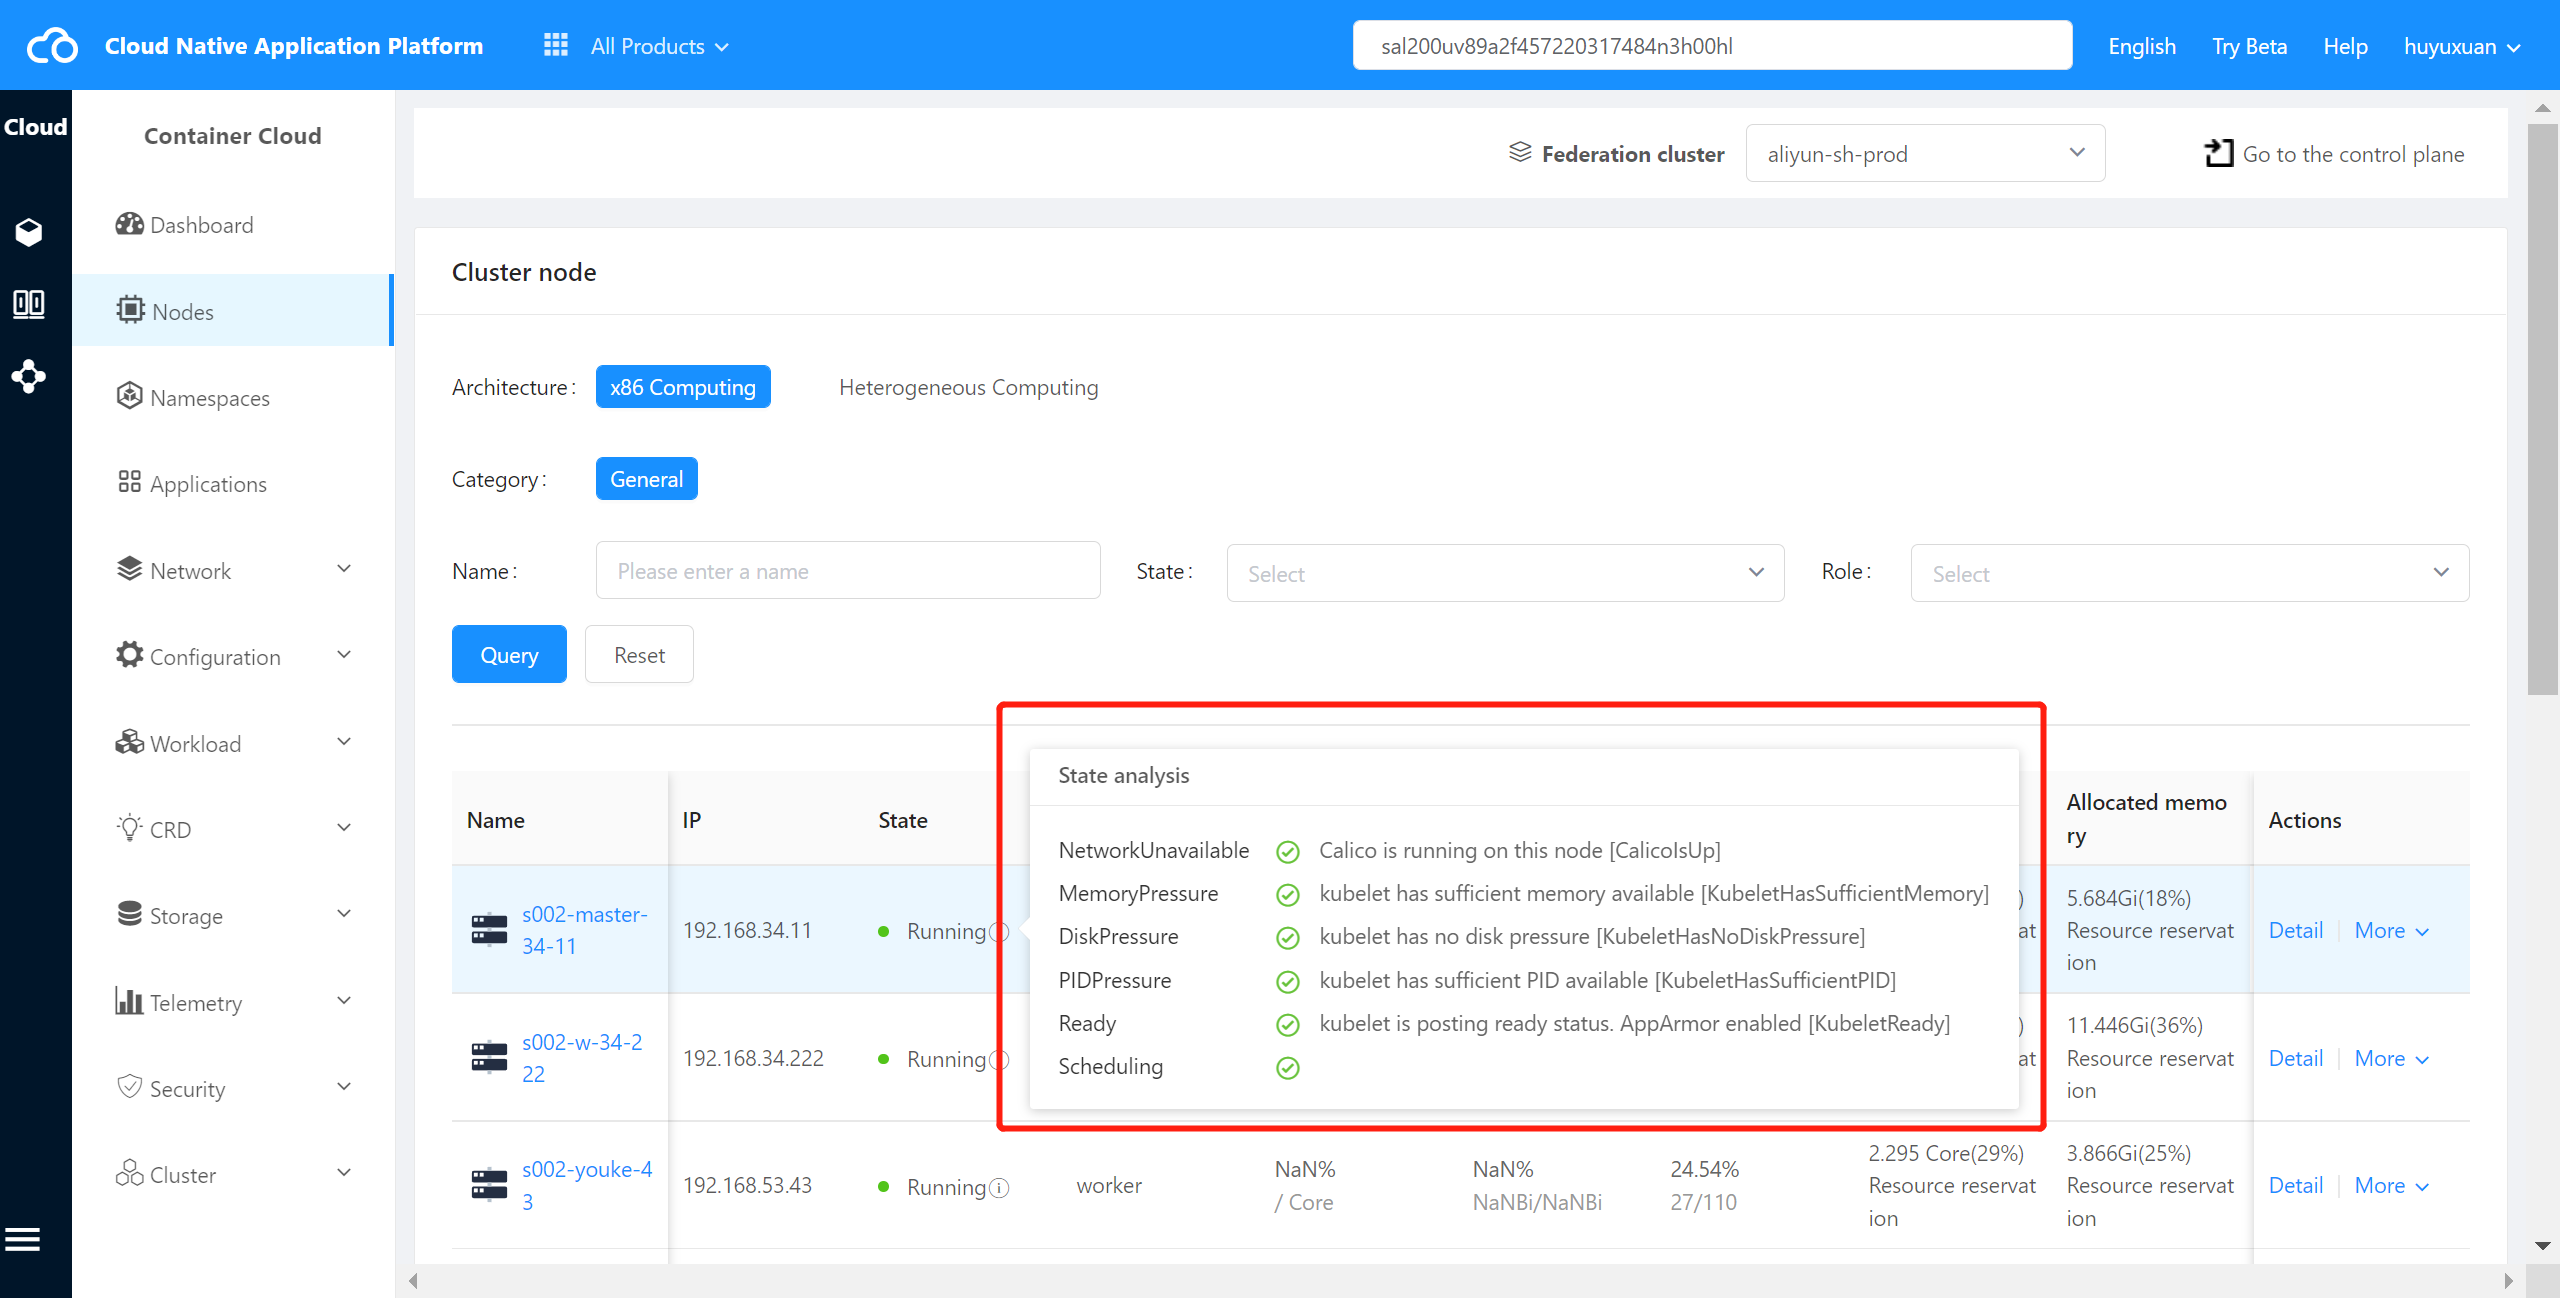
Supports status analysis of abnormal nodes,as shown in the following figure:
Viewing Node Monitoring #
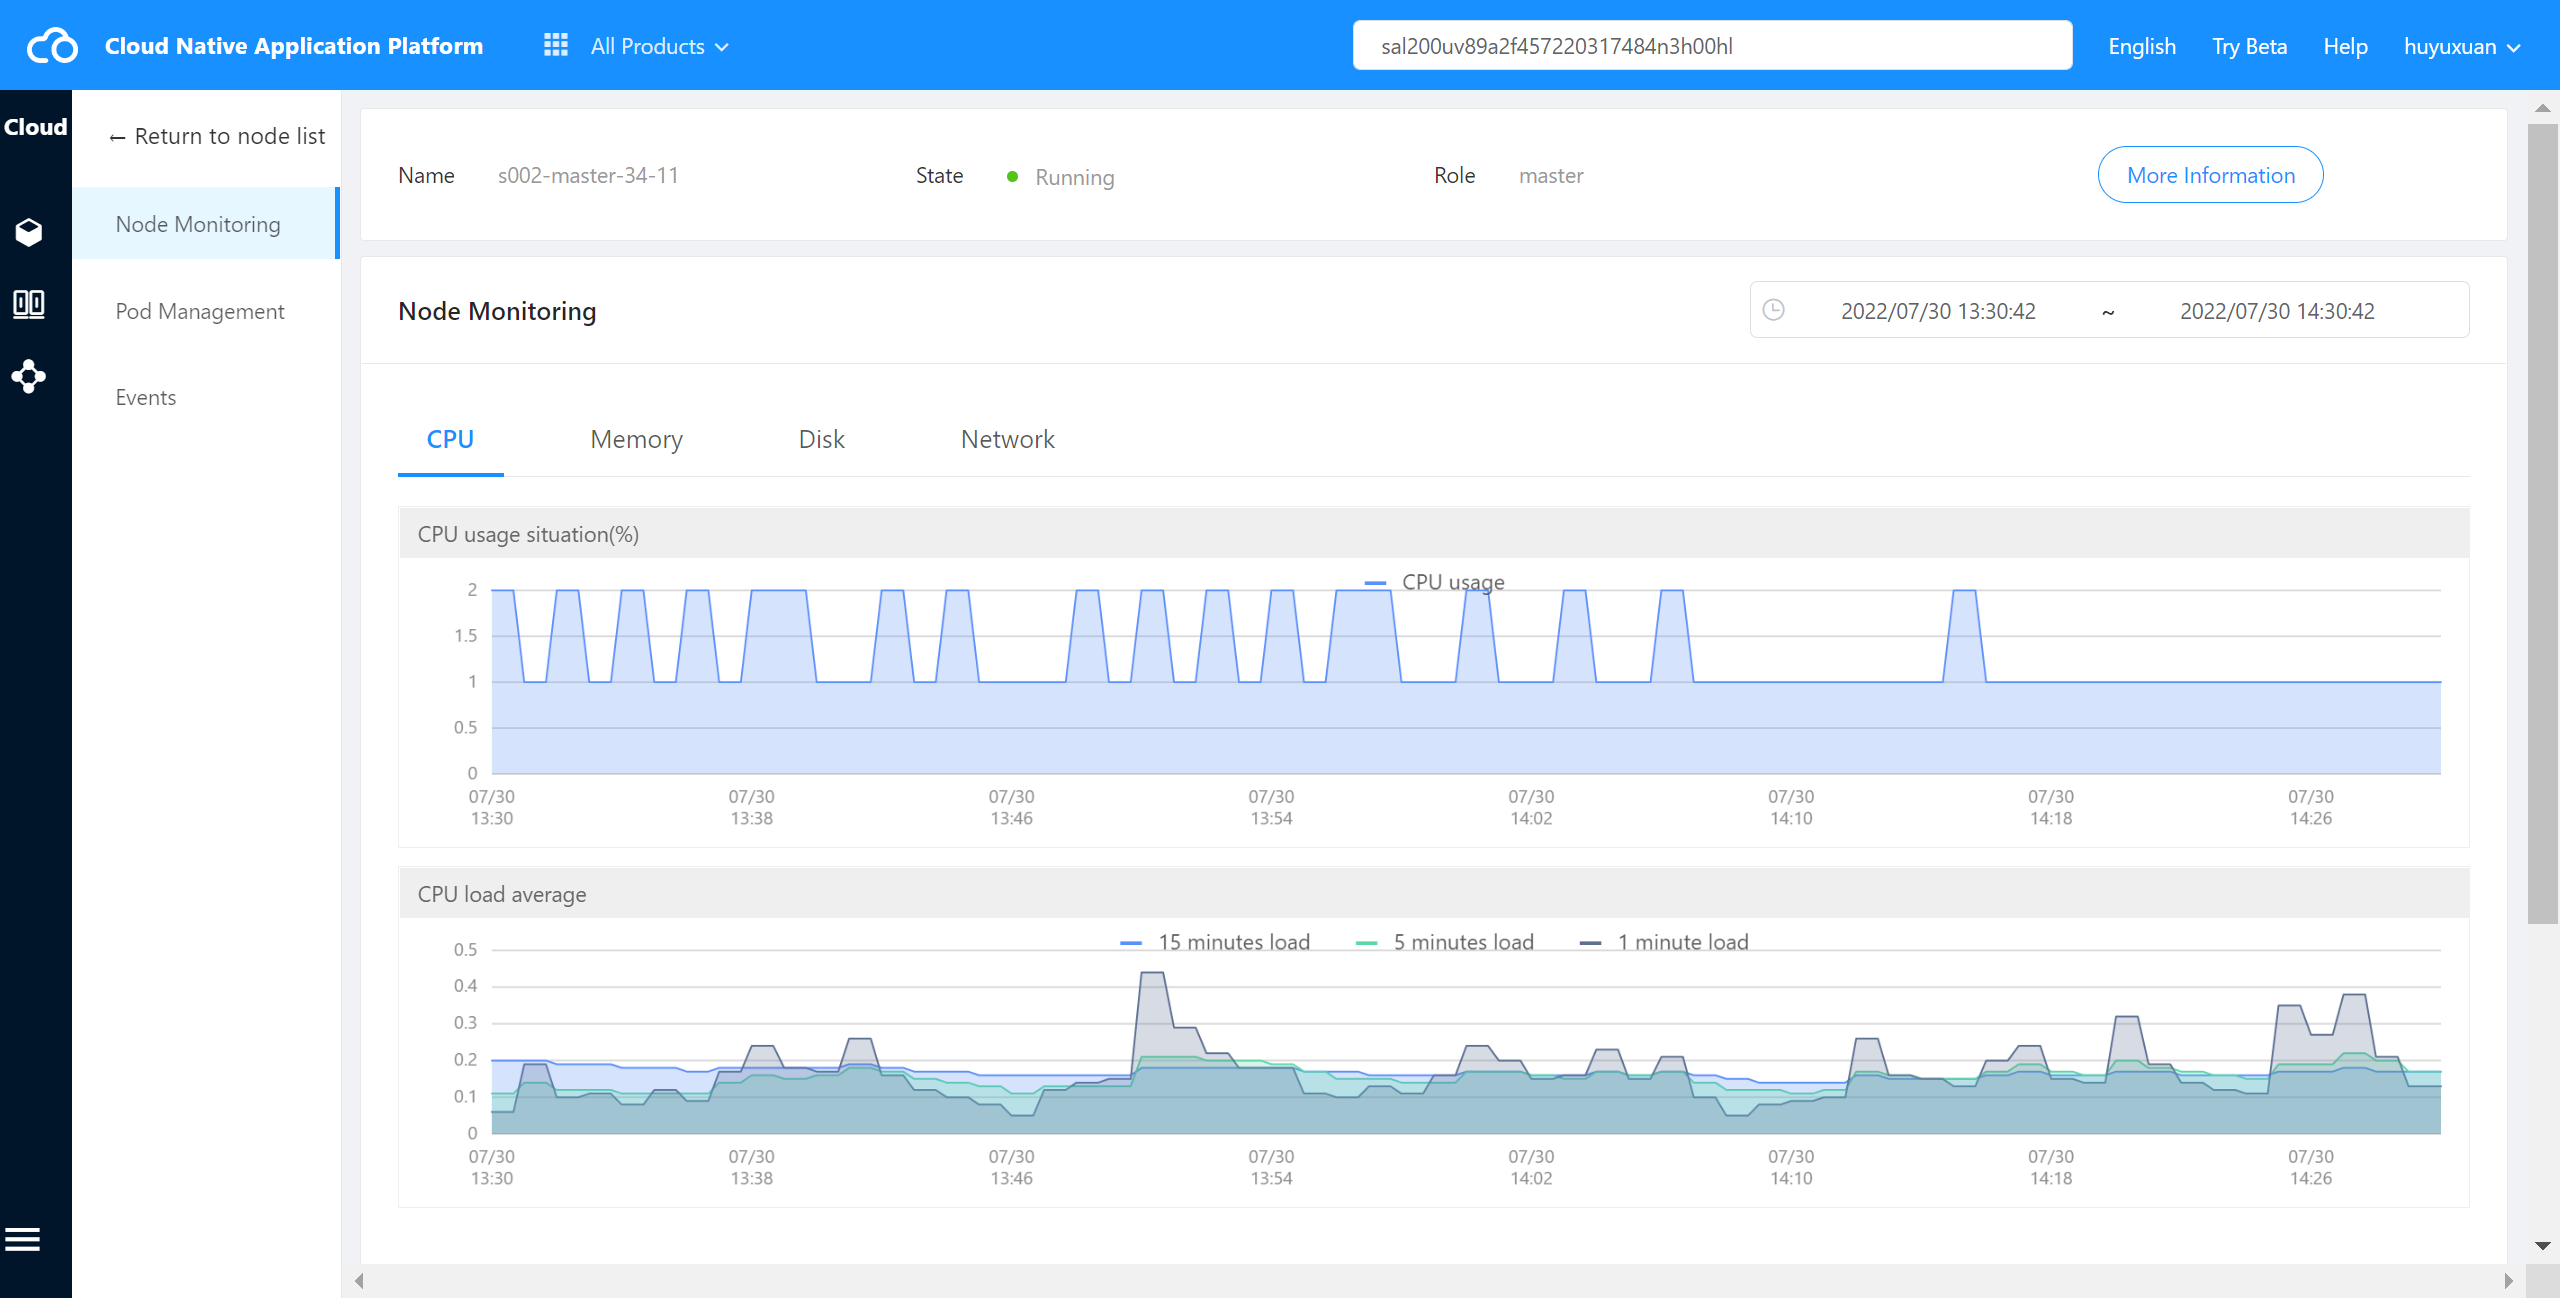
You can view the monitoring information about nodes in the Kubernetes cluster, including CPU usage, average CPU load, memory usage, disk usage, inode usage, and IOPS
Operating steps:
Log in the MSP Platform
In the MSP Platform “All Products” navigation bar,click the node under the Container Cloud Platform module
On the node list page, click the node name
The node monitoring page is displayed,and you can view basic monitoring information about the node
Setting Node Scheduling #
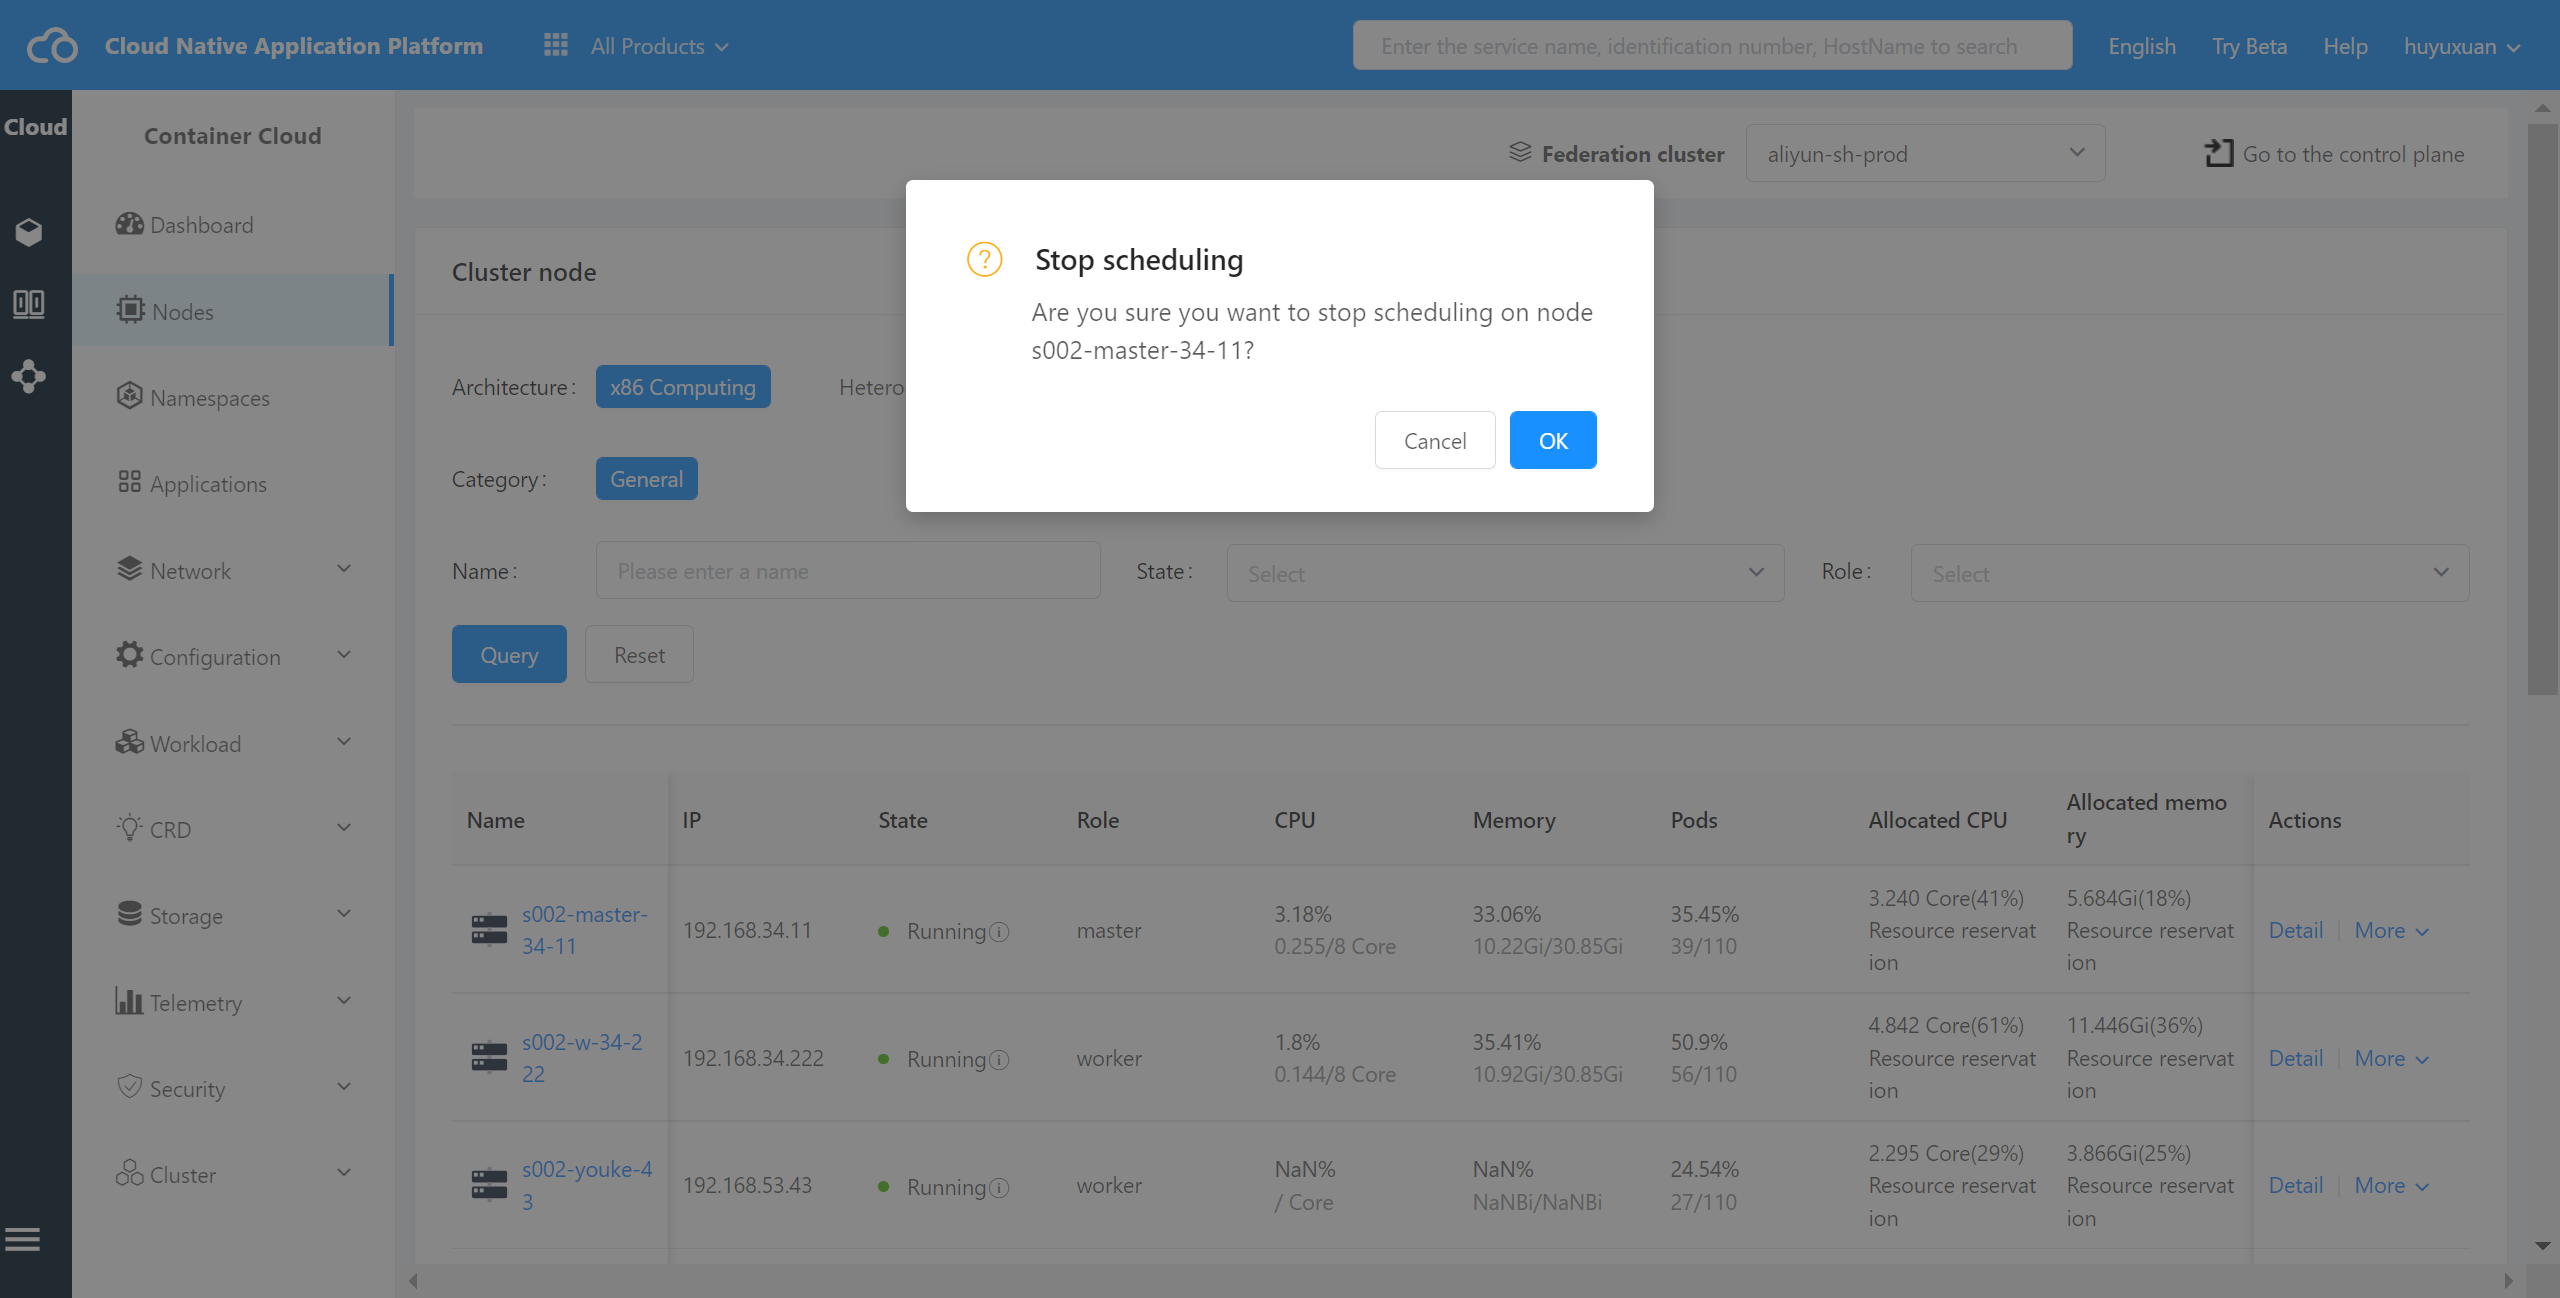
Node scheduling can be set through the container cloud platform interface to properly distribute the load of each node.If Stop Scheduling is set, the Pod will not be scheduled to the node when the cluster is deployed. You can restart the node whose scheduling is stopped.
Operating steps:
Log in the MSP Platform
In the MSP Platform “All Products” navigation bar,click the node under the Container Cloud Platform module
On the node list page,select the node row to be operated and click “Stop Scheduling” under “More”
In the Stop Scheduling window that is displayed, click OK.As shown in the following figure:
Setting Node Labels #
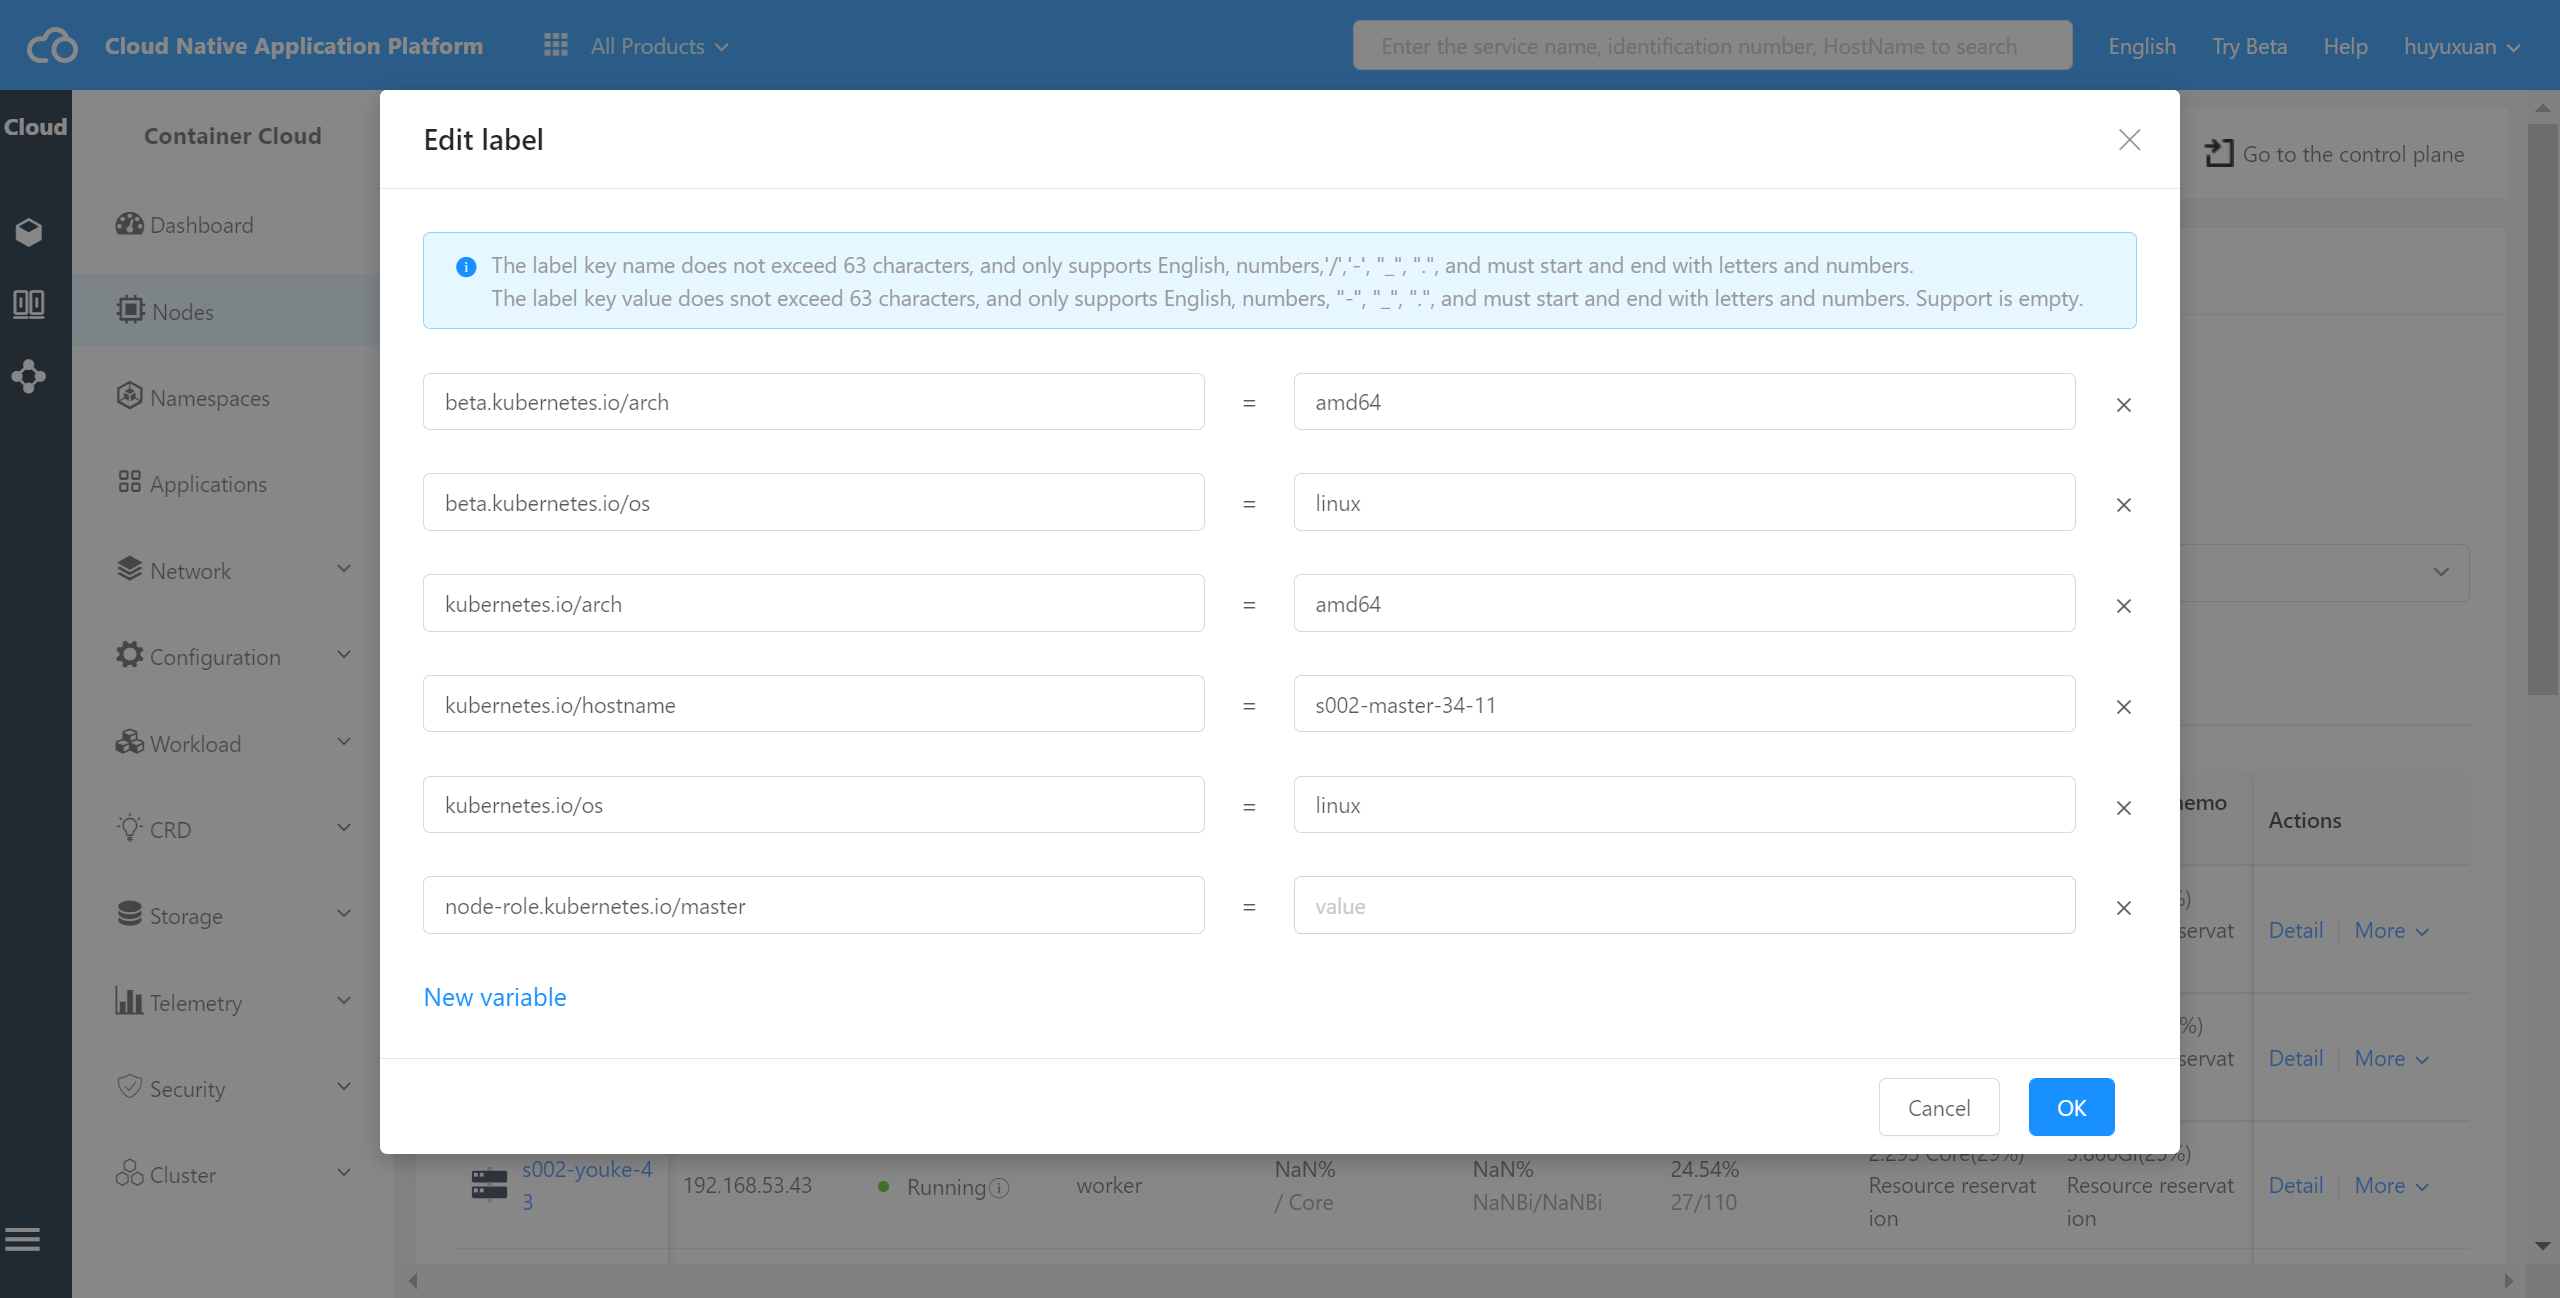
You can manage node labels on the container cloud platform, including adding and deleting node labels.
Operating steps:
Log in the MSP Platform
In the MSP Platform “All Products” navigation bar,click the node under the Container Cloud Platform module
On the node list page,select the node row to be operated and click “Edit Label” under “More”
In the Edit Label drawer that is displayed,edit a label.You can delete or add a label,and click OK.As shown in the following figure:
Set Taint #
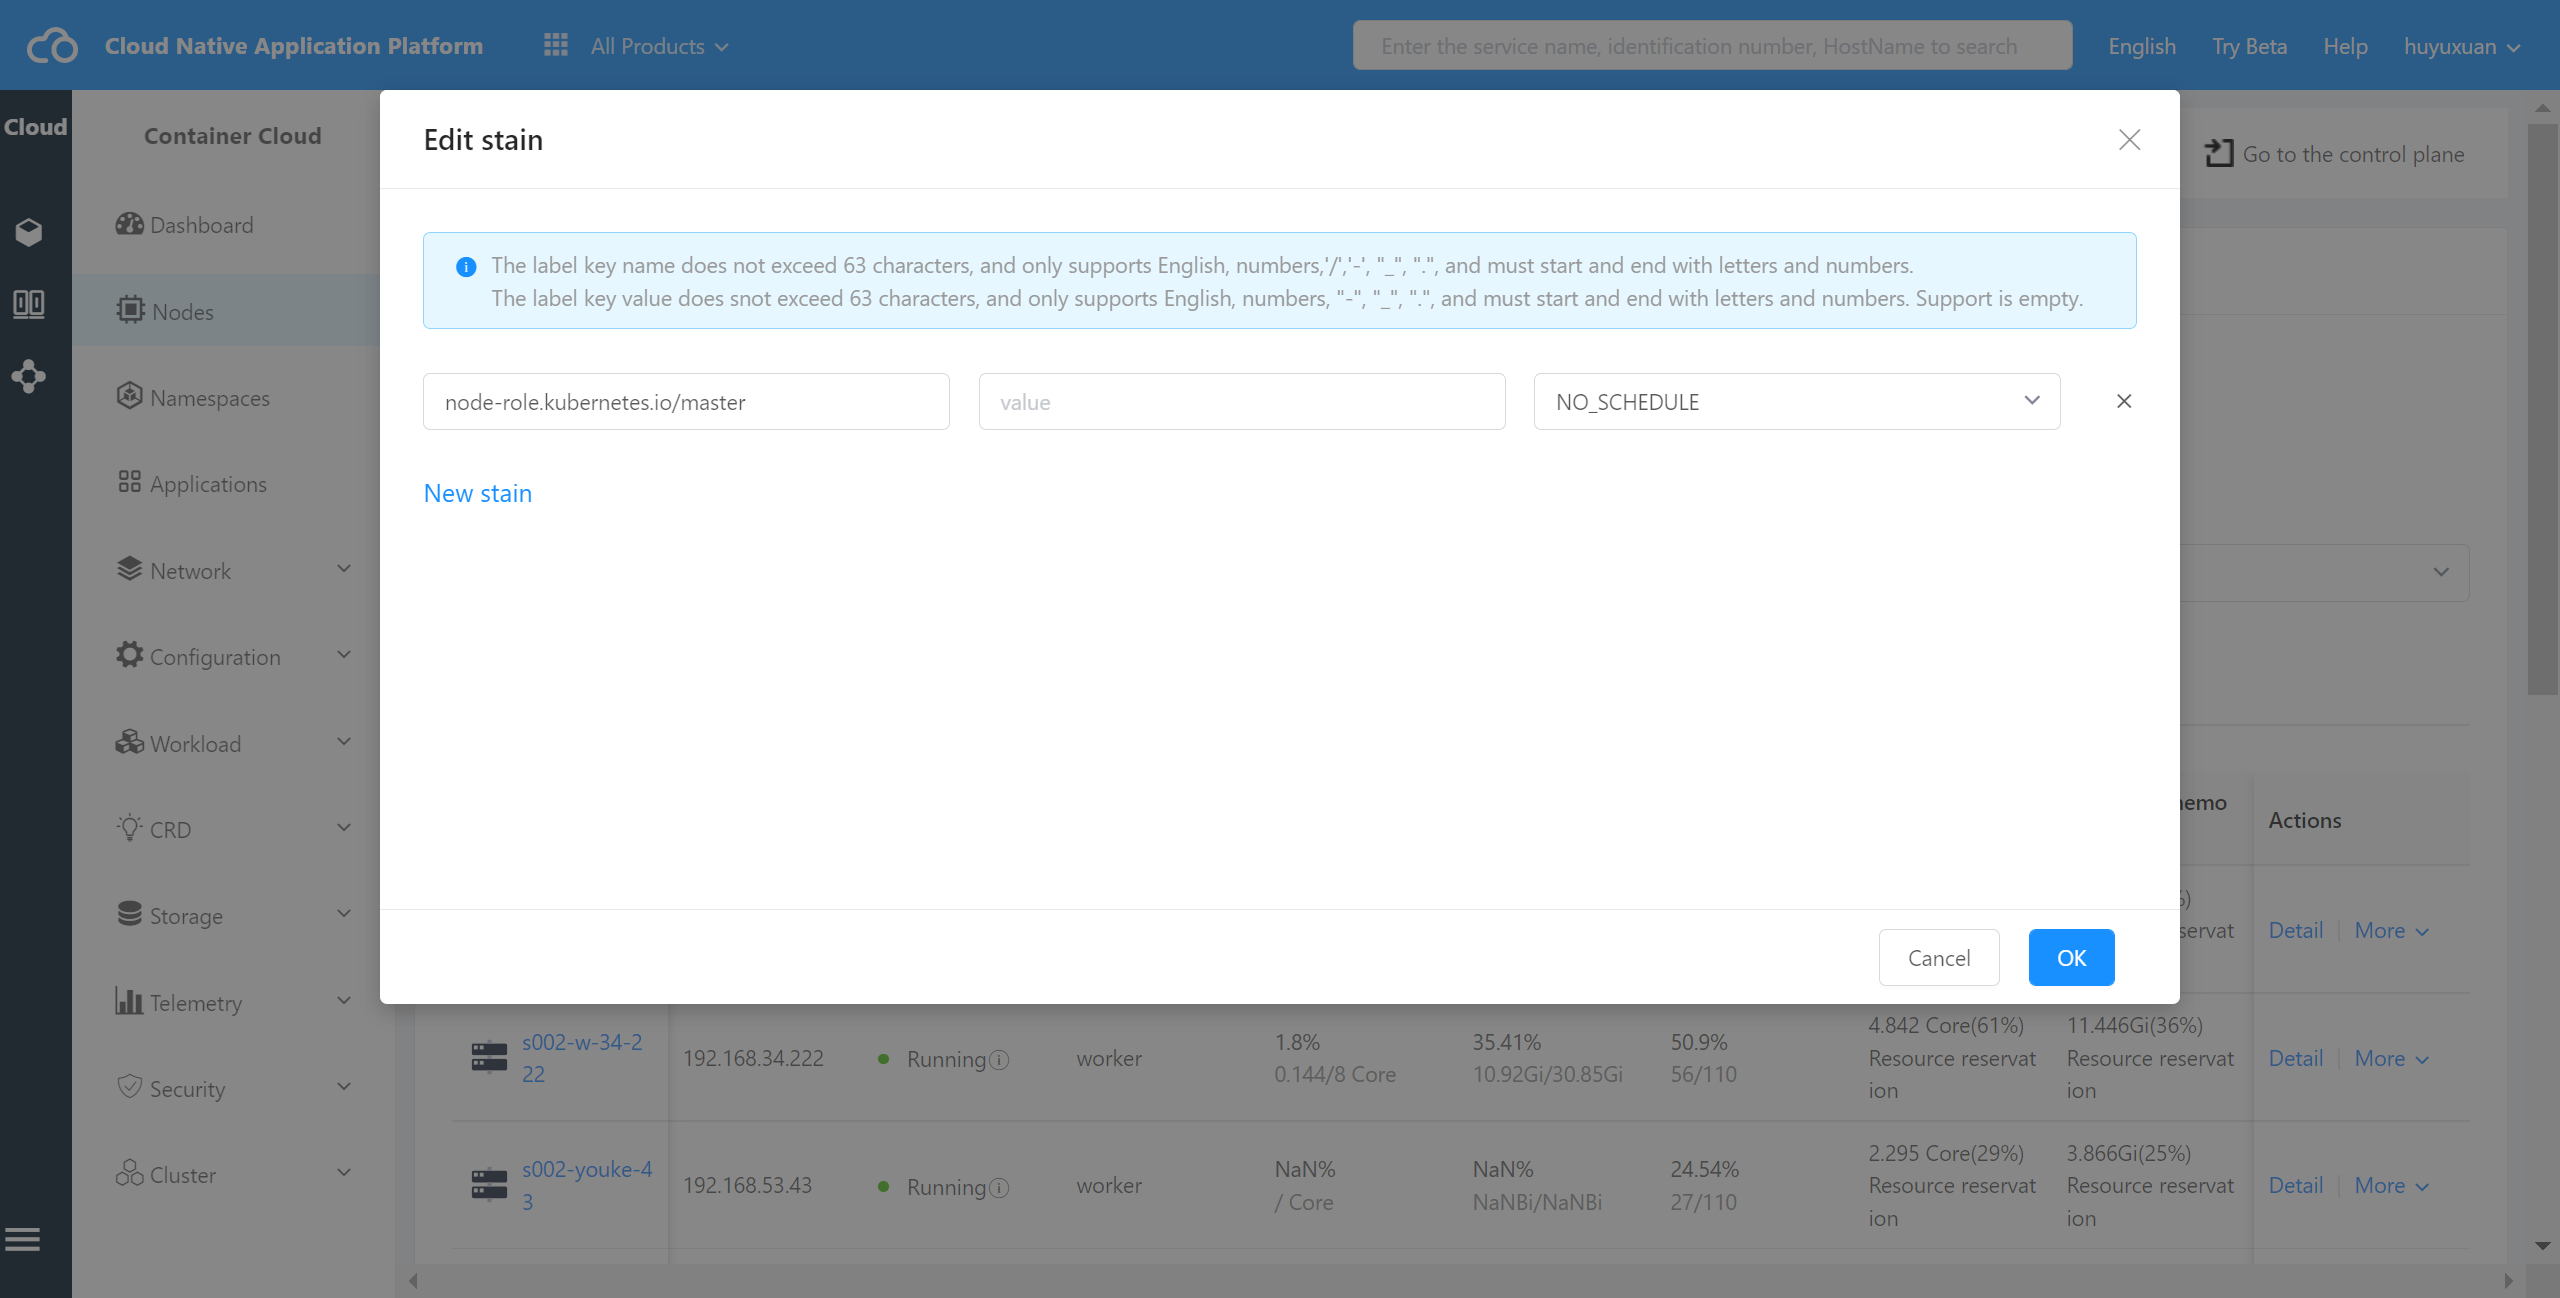
Node taint management can be carried out through the container cloud platform interface,including adding node taint,deleting node taint.Taint can make Pod exclude a specific class of nodes, each node can apply one or more taint.
Operating steps:
Log in the MSP Platform
In the MSP Platform “All Products” navigation bar,click the node under the Container Cloud Platform module
On the node list page,select the node row to be operated and click “Edit Taint” under “More”
In the Edit Taint drawer that is displayed,edit a taint.You can delete or add a taint,and click OK.As shown in the following figure:
Viewing Node Events #
You can view the event information about nodes in the Kubernetes cluster.
Operating steps:
Log in the MSP Platform
In the MSP Platform “All Products” navigation bar,click the node under the Container Cloud Platform module
On the node list page,select the node row to be operated, click the node name to go to the node details page
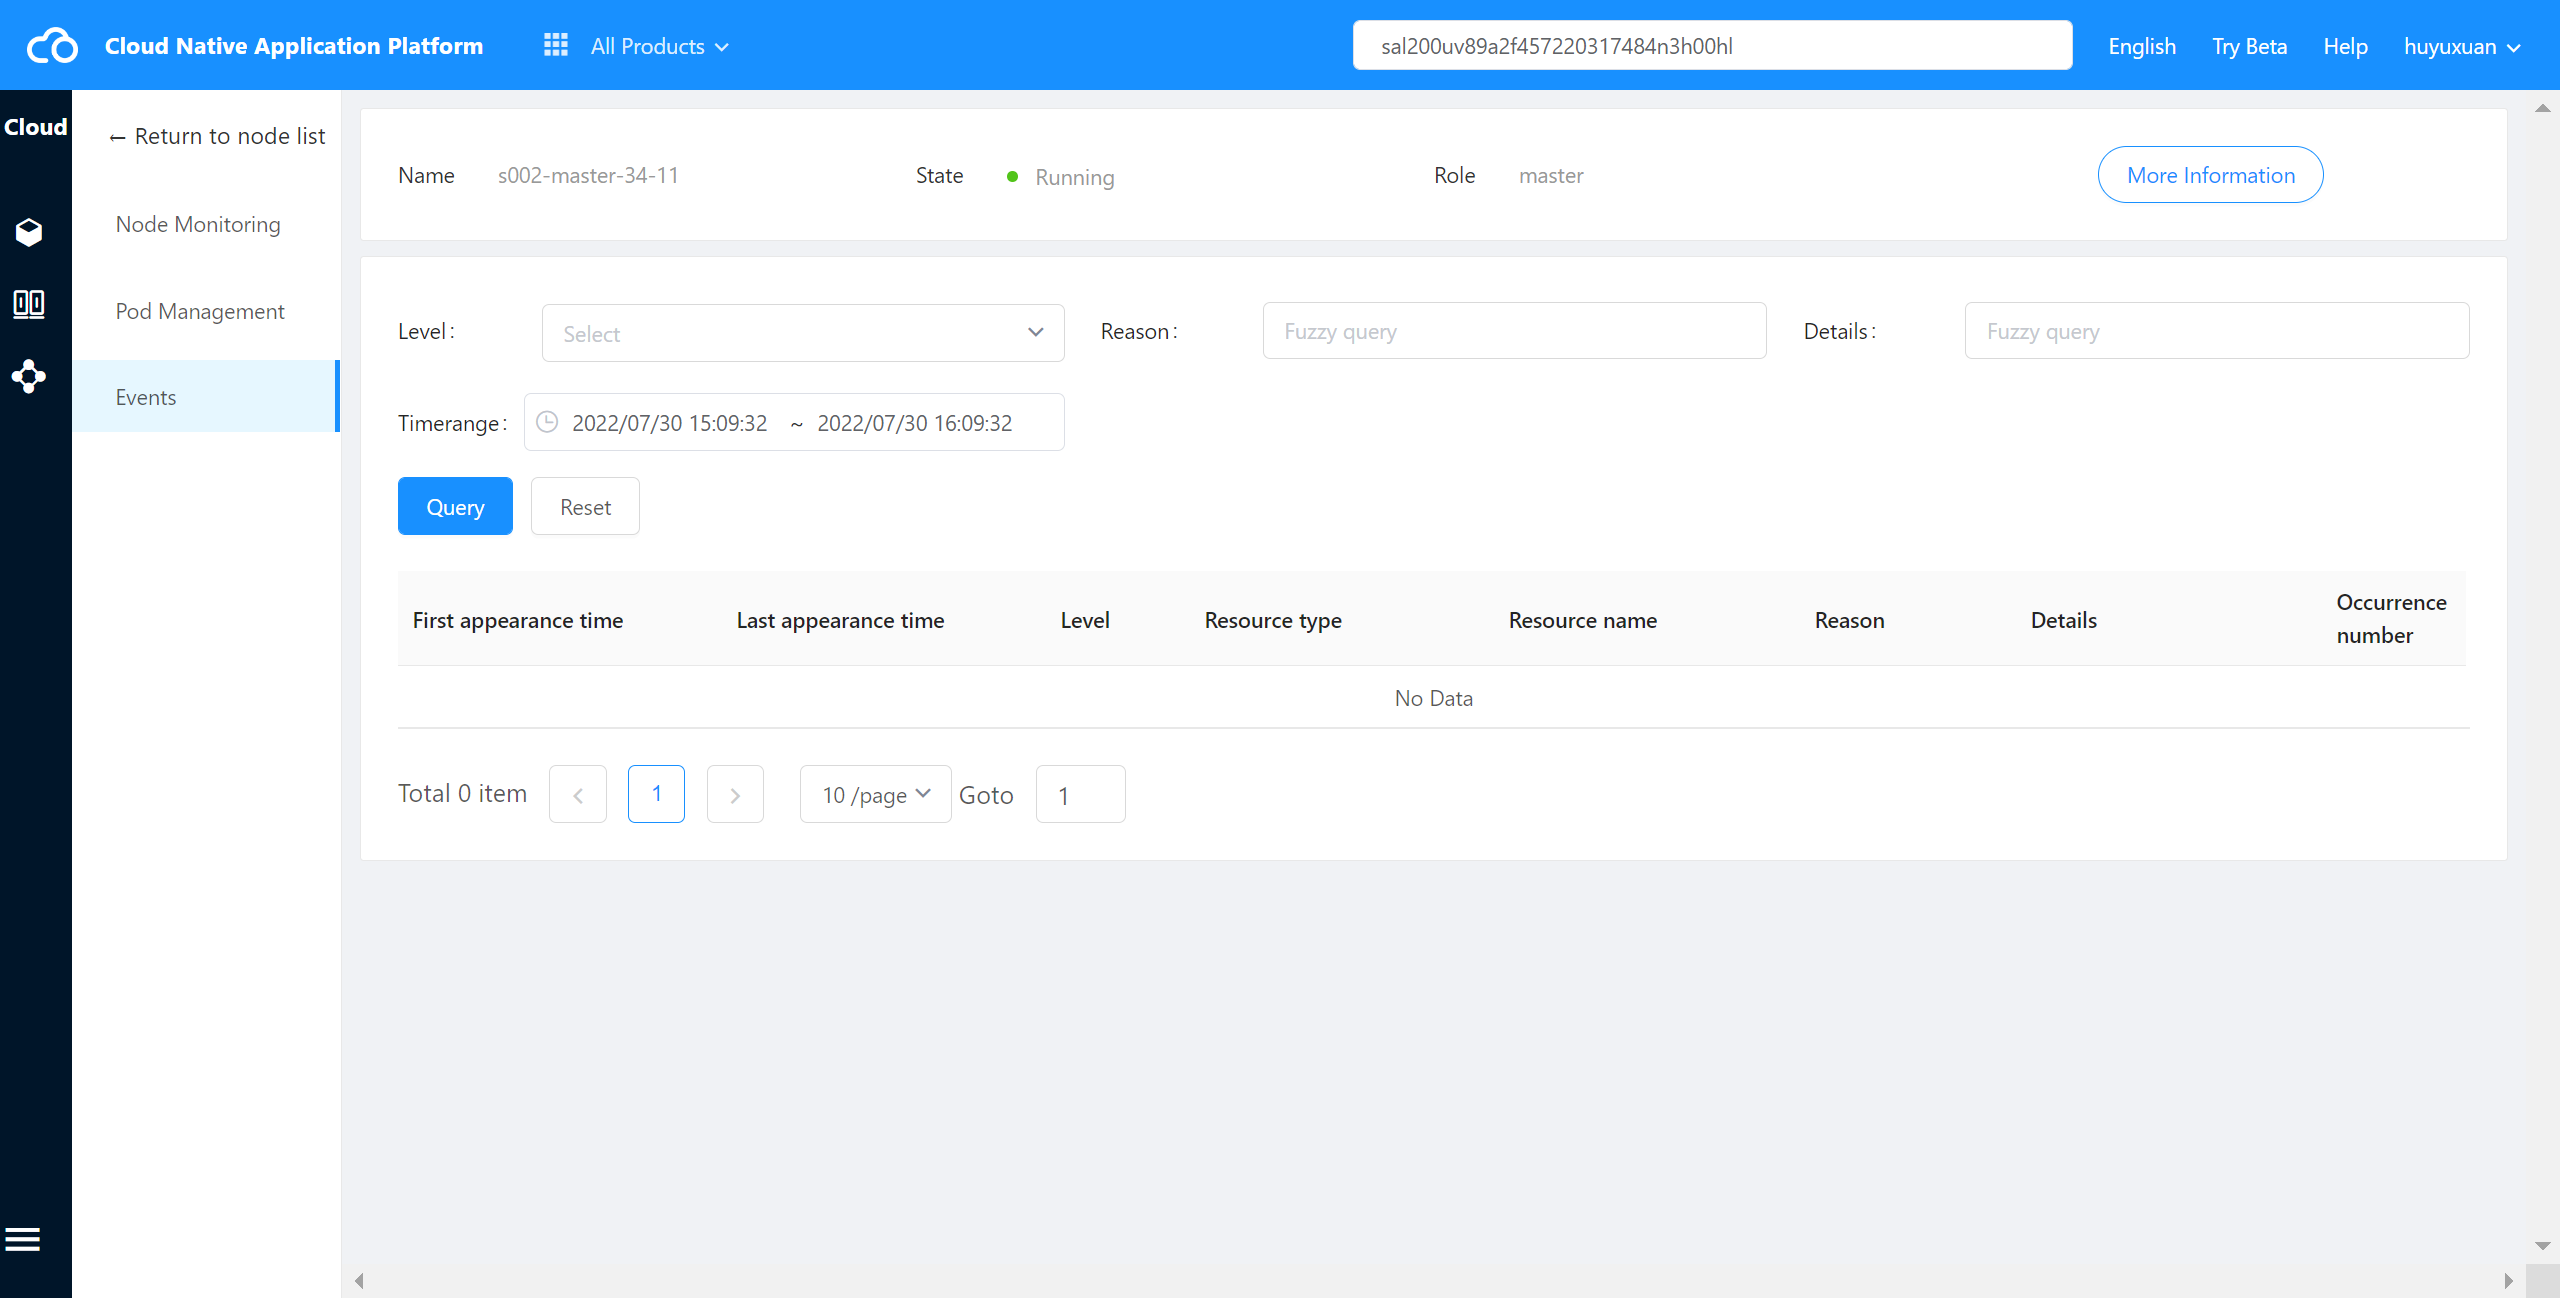
In the navigation tree,click Event,and the event page is displayed.As shown in the following figure: